Window Lock Replacement: A Complete UK Guide to Replacing Window Locks and Handles
Tuesday, 10 November 2026
A window lock replacement means identifying whether the fault is in the handle, espag, gearbox or keep, then fitting a compatible part. A handle change takes 10–20 minutes; replacing a mechanism often takes longer, especially if sash removal is needed.
Identify the type of window lock
The right replacement depends on the window and locking system. Many uPVC casement windows use an espagnolette, or “espag”, mechanism: turning the handle moves a spindle in a gearbox, which operates a strip of locking points along the sash edge.
Other windows use different hardware. Use this guide to narrow down what to measure and buy.
| Lock type | Typical window | What to measure | What to buy |
|---|
| Espag lock or mechanism | Modern uPVC casement window | Strip length and width, backset, gearbox position, locking-point layout | Matching espag strip or gearbox |
| Espag handle | uPVC window with a square-spindle handle | Spindle length, fixing-hole centres, backplate and handing | Compatible inline or cranked espag handle |
| Cockspur handle | Older uPVC or aluminium casement window | Step height, fixing centres, backplate and matching keep | Cockspur handle and, if needed, wedge keep |
| Spade or blade handle | Some older aluminium or uPVC windows | Spindle type and length, fixing centres | Matching spade/blade handle |
| Sash fastener or sash stop | Timber sliding sash window | Fastener position, fixing holes and sash profile | Matching sash fastener or stop |
| Stay lock, night vent or restrictor | Casement window | Stay length, fixing positions, opening limit and handing | Compatible stay, night vent or window restrictor |
You can browse our window locks and related hardware or use our window espag and handle measurement guide to compare the details before ordering.
What to measure before ordering
Measure in millimetres and take clear photographs of the handle, window-edge mechanism and frame keeps. A part that looks similar may have a different spindle, gearbox position or locking-point layout.
For a handle, check:
- Spindle length: Remove the handle and measure from the rear face of its backplate to the tip of the square spindle. Common replacement lengths include 30 mm, 40 mm and 50 mm, but there are other sizes. Match the old handle and check the new spindle will engage without stopping the handle from sitting flush.
- Fixing-hole centres: Measure between the centres of the two screw holes. They are commonly 43 mm apart on espag handles, but measure yours rather than assuming.
- Handle style and handing: Espag handles may be inline or cranked; a cranked handle may be left- or right-handed. Note whether yours locks with a key.
- Cockspur step height: Measure from the handle’s base to the underside of the nose that meets the frame keep. The step height affects whether the handle can close securely.
- Backplate and spindle type: Record the backplate size and whether the spindle is square or another shape. Do not assume a handle with the right screw centres will fit every window.
The term PZ centres is usually associated with door handles, measuring from the handle spindle to the keyhole or cylinder centre. For most window handles, the useful fixing measurement is the distance between the two handle screw holes.
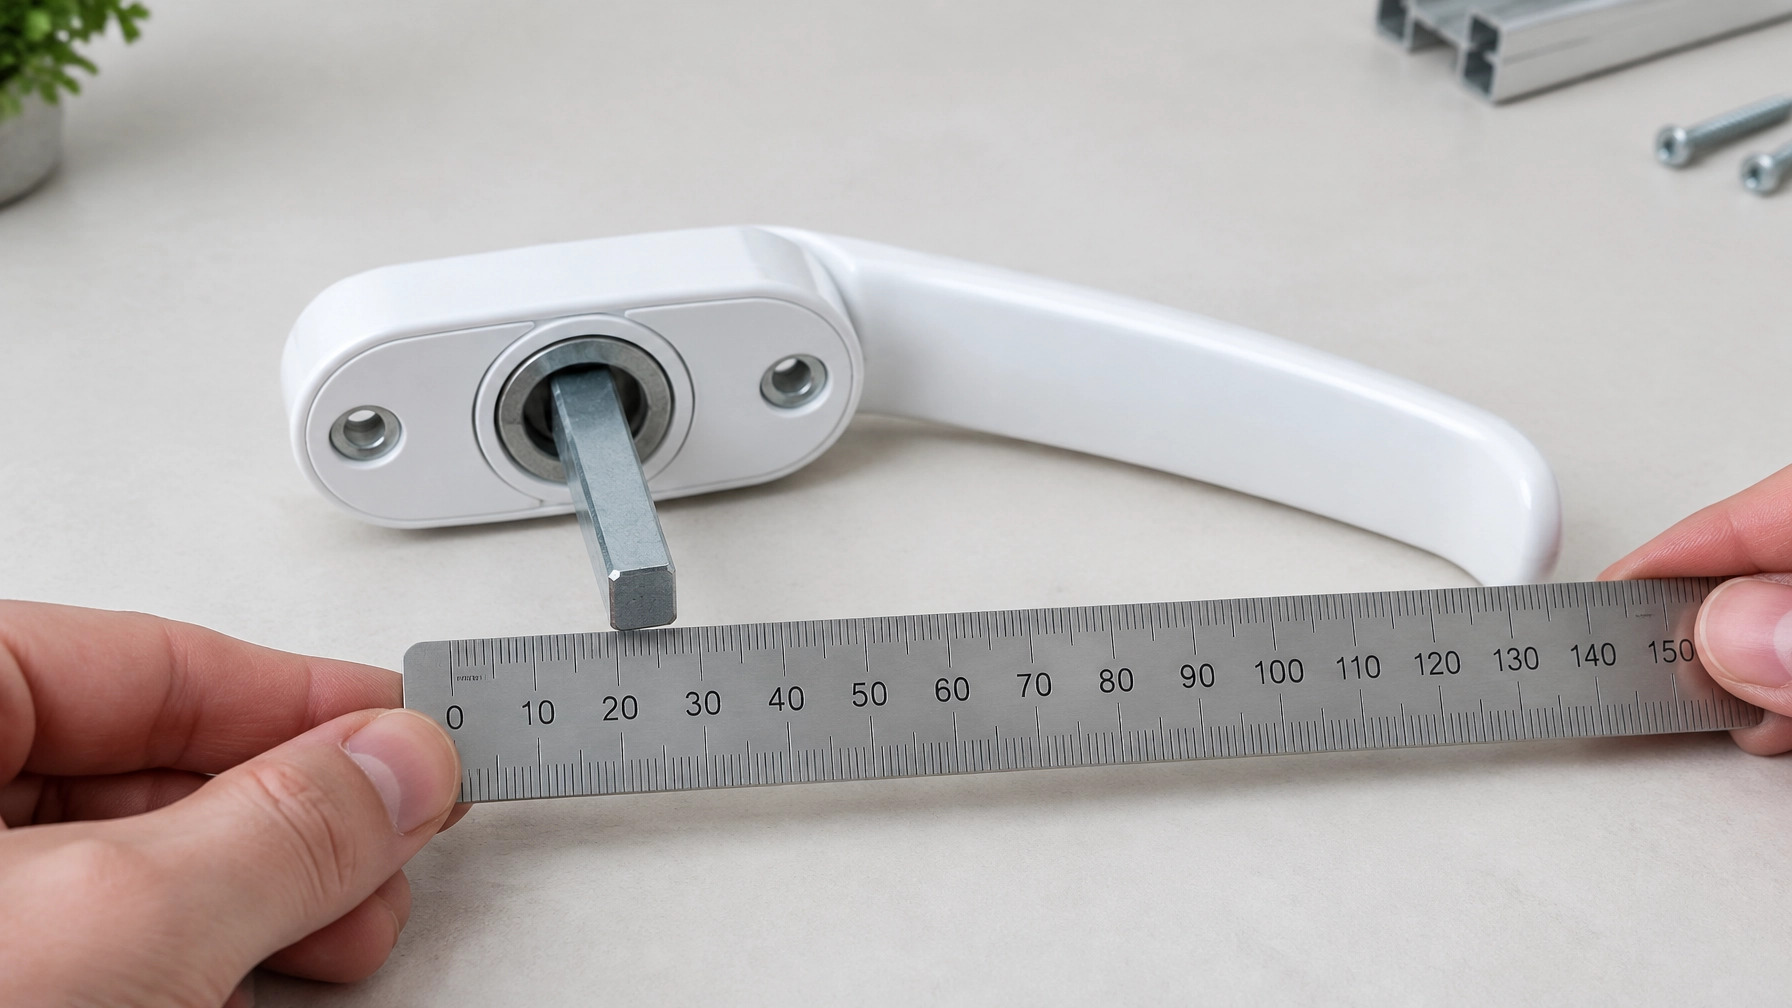
For an espag strip or mechanism, measure and record:
- Backset: Usually measured from the faceplate’s front edge to the centre of the spindle follower in the gearbox. Check the replacement supplier’s diagram and use the same reference points.
- Rail or faceplate width and overall strip length.
- Gearbox position: Note whether it is inline or offset, and which way it faces.
- Locking points: Record their type, number and positions, such as rollers, mushroom cams, hooks or shootbolts.
- Keeps: Photograph the frame-side parts that the locking points engage with. Check their position and condition as well as the sash mechanism.
Our measurement guides offer further help. If in doubt, send photographs and measurements to an expert before ordering.
How to replace a uPVC espag handle
A uPVC window lock replacement may only require a new handle if the mechanism still moves smoothly and all locking points engage. Keep the sash open throughout the job so you can test the handle without trapping the window shut.
- Open the window and support the sash. Turn the handle cover to expose the two fixing screws; on some handles, the cover slides or lifts off.
- Unscrew both fixings and pull the old handle away from the sash. If it resists, gently turn it to align the spindle with the gearbox follower. Do not force it.
- Compare the old and new handles, checking spindle length and shape, screw-hole centres, backplate and handing.
- Insert the new spindle squarely into the gearbox, refit the screws and tighten them evenly. Avoid overtightening into the uPVC.
- Operate the handle with the sash still open. Check that it turns smoothly and moves the locking points. Only then close the window and test it gently.
When the espag mechanism or gearbox needs replacing
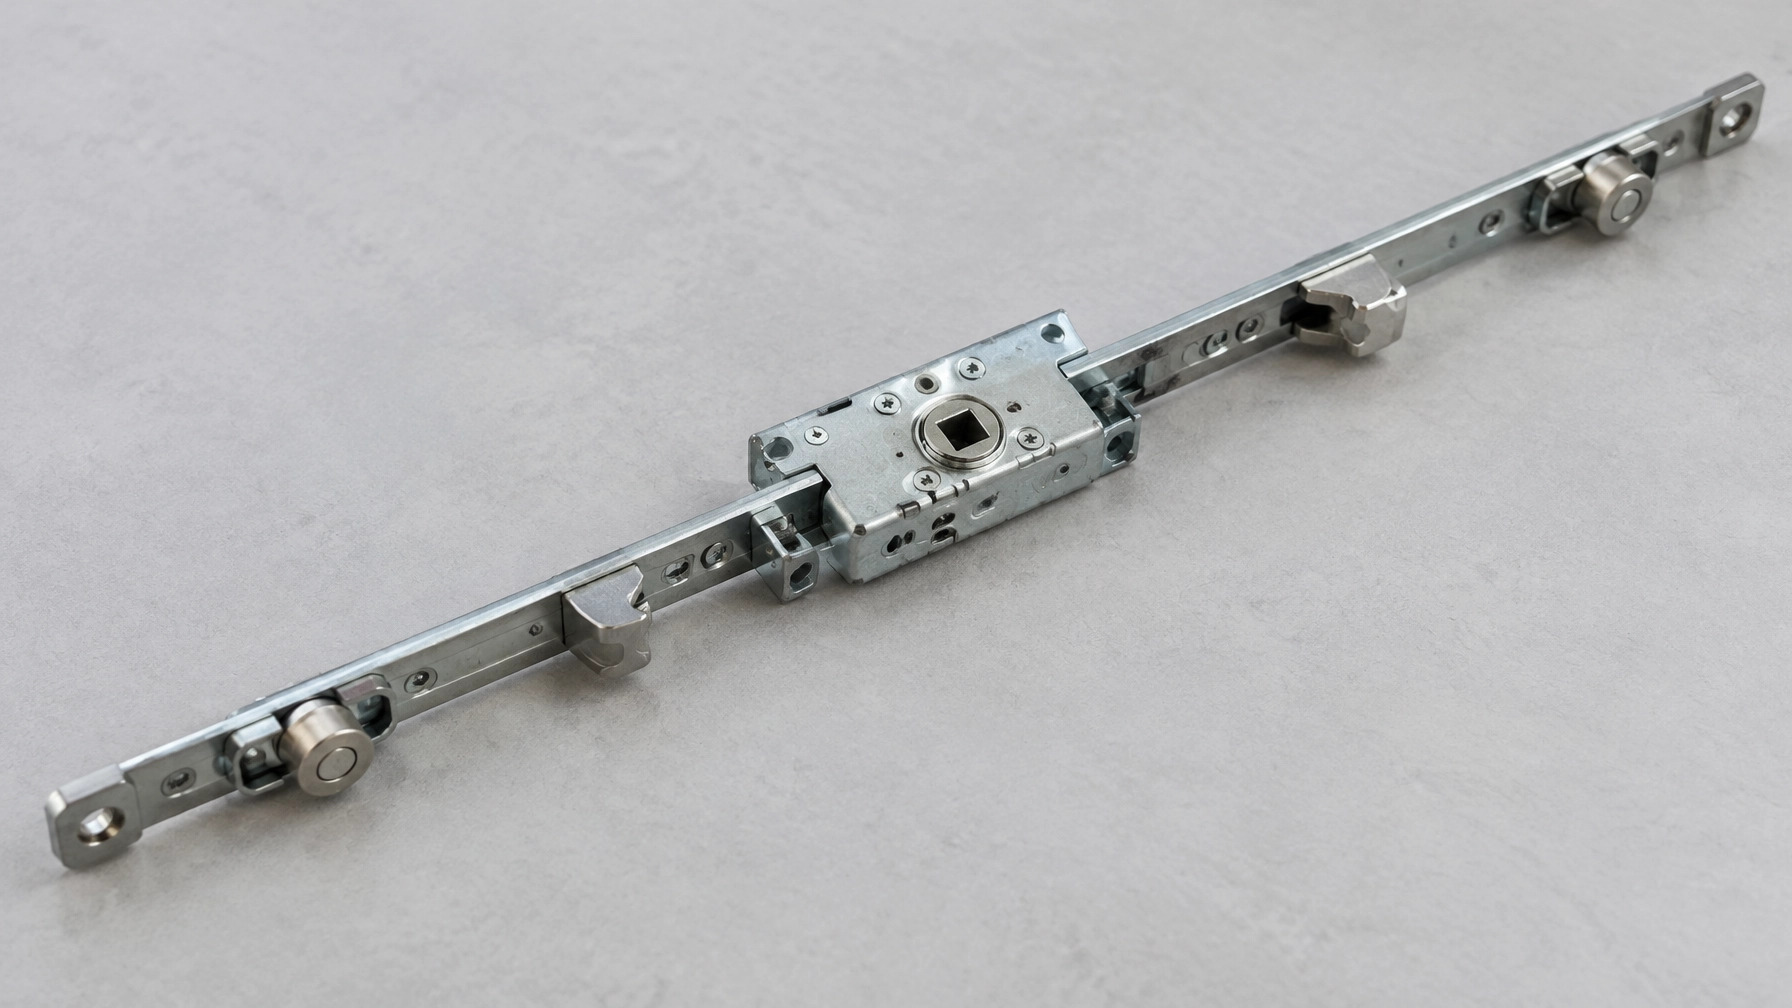
A new handle will not fix a failed gearbox or broken locking strip. If the handle turns but the locking points do not move, the square spindle, gearbox or espag strip may be damaged. Grinding, free-spinning or a handle that will not return can also point to a gearbox fault.
Replacing a mechanism involves removing the handle, taking out the faceplate screws along the sash edge and withdrawing the strip. Photograph its position and locking points before removal. Match the replacement’s length, width, backset, gearbox position and locking-point layout, not just any visible brand or code.
Some repairs require the window sash to be removed, which can be difficult or unsafe, especially on an upper floor. If the sash is jammed closed, needs removal, or the frame is distorted, contact a competent window repairer, glazier or locksmith rather than forcing the mechanism.
Why won’t my window lock?
If the handle and mechanism work with the sash open but not when it is closed, the problem may be alignment rather than a failed lock.
- Dropped sash: Hinges can wear or shift, leaving the locking points out of line with the keeps.
- Misaligned keeps or strikes: A roller or hook may be hitting the edge of its keep instead of engaging. Avoid forcing the handle or moving keeps without first checking the sash alignment.
- Worn gearbox or seized mechanism: A handle that spins freely or feels rough may have stripped gears, a damaged spindle or a broken espag strip.
- Dirt or dry moving parts: Clean accessible moving points and use a suitable PTFE lubricant sparingly. Avoid WD-40 as a routine lubricant; it may not provide lasting lubrication for the mechanism.
- Swollen timber: Wooden windows can swell with moisture or changes in temperature, preventing a sash from closing squarely. The frame may need attention rather than a replacement lock.
Stop using the window if the lock will not engage securely. A new handle cannot correct a dropped sash, damaged keep or failed gearbox, and repeated force can make the damage worse.
Window restrictors, security and safety
A window restrictor limits how far a window opens. It can help reduce the risk of a fall, particularly for upstairs windows and in homes with children. A restrictor is separate from the main lock: it does not repair a faulty lock or replace the need to secure the window.
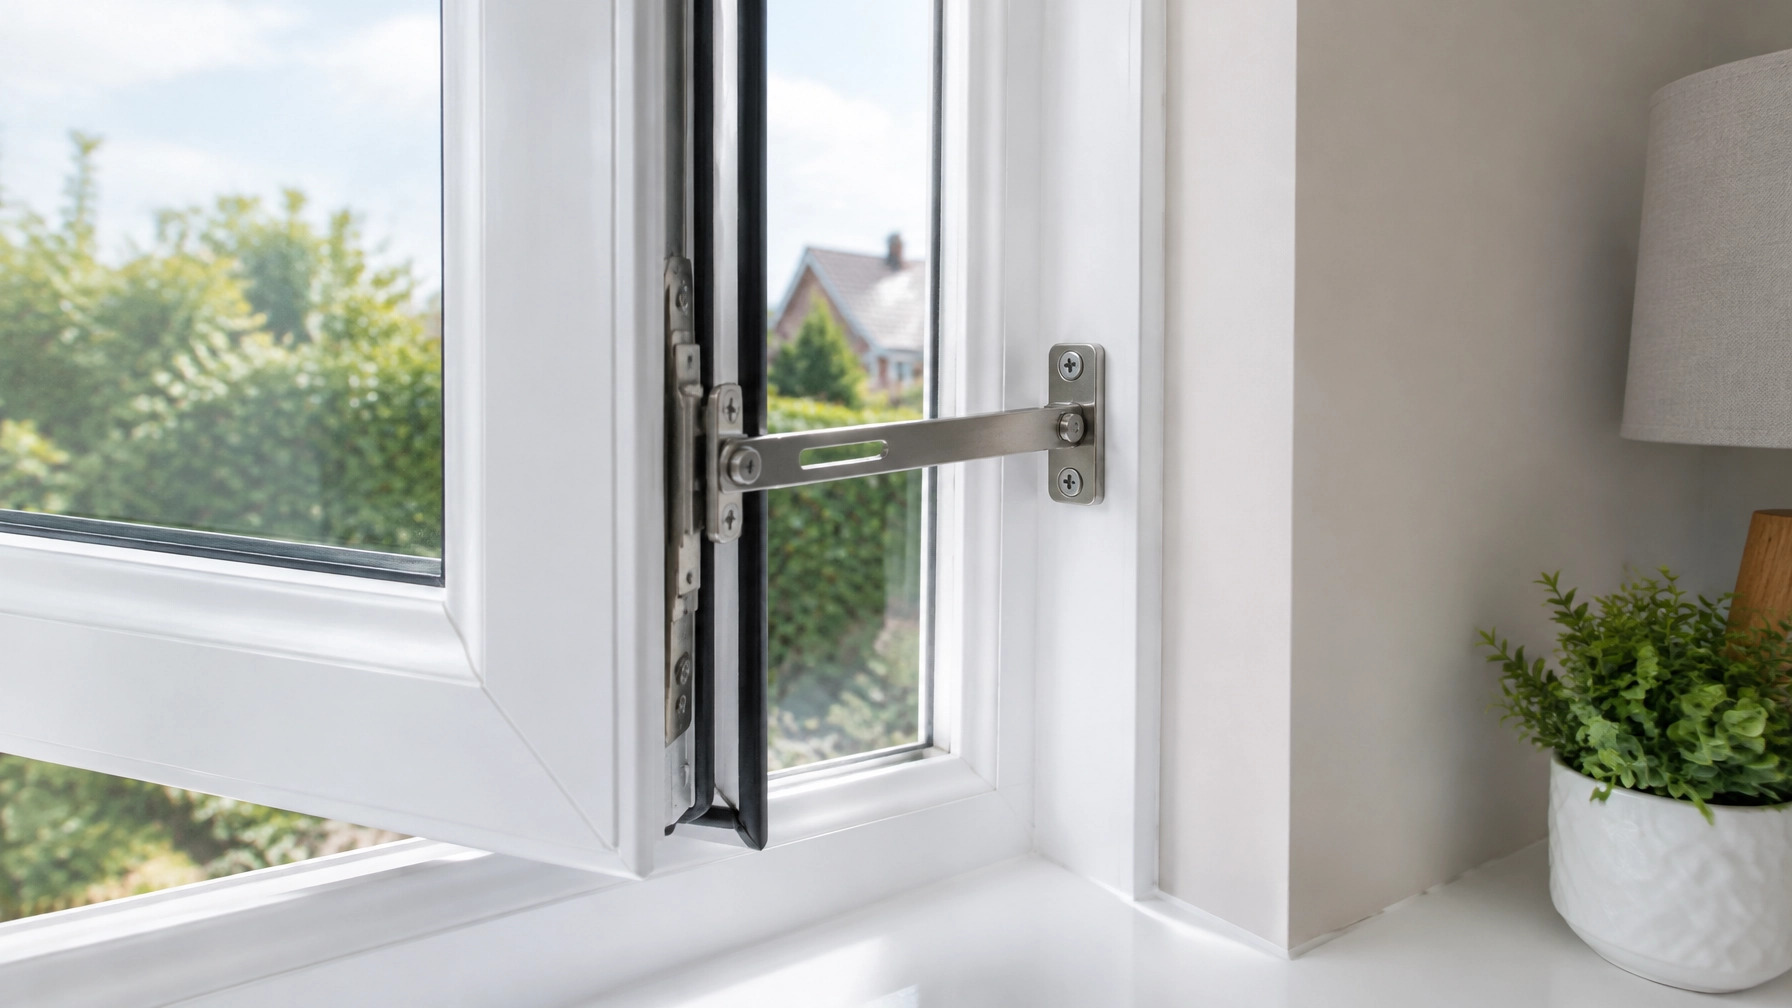
Check that the restrictor remains fitted and works correctly after replacing a handle or mechanism. Do not install hardware that prevents a window from serving as an emergency escape route. Landlords and property managers should ensure window safety arrangements are suitable for the property and their responsibilities; use a competent person if the requirements are unclear. For commercial or fire-escape windows, match the door or window’s certification and escape arrangements rather than guessing.
Locking accessible windows can improve security, but consider whether a restrictor or lock affects emergency egress. Many home insurance policies require windows to be lockable; check your own policy for its wording.
Need help getting the right part?
Lock Shop Direct can help identify a replacement from your photographs and measurements. Call 0330 174 0851 Monday to Friday, 9:30am–4:30pm, or email info@lockshopdirect.co.uk.
Selected products are available for next-day delivery, with same-day dispatch on orders placed before 5pm. Delivery is free on orders over £60. Before ordering, send us your photos and measurements if you are unsure which part fits.
Author: Penny
Back to listing